12 April 2022
What is LAMP?

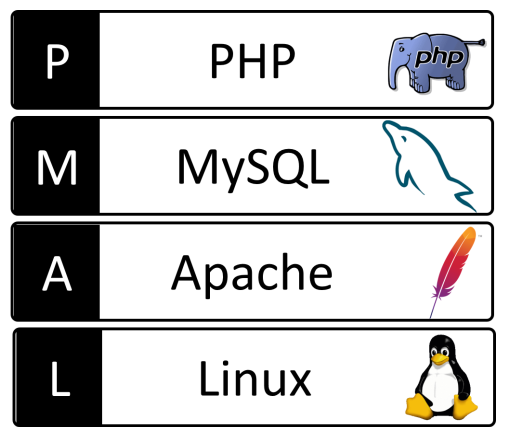
Before learning about the LAMP stack deployment, let’s have a look at it’s brief introduction. LAMP is an open source Web development platform that uses Linux as an operating system, Apache as the Web server, MySql as the relational database management system and PHP as an object-oriented programming language.
Steps to setup a LAMP stack on a VM instance:
-
Create a virtual machine instance
- In the Cloud Console Navigation menu, navigate to Compute Engine > VM Instances.
- Set it’s name, machine type and Boot disk to Debian GNU/Linux 10 (buster).
- In the Firewall section, select Allow HTTP traffic and Allow HTTPS traffic.
- Click Create.
-
Connect to VM instance
We can connect directly to our instance using the SSH button on Console or using the gcloud compute ssh command, which is a part of the Cloud SDK.
- In the list of virtual machine instances, click the SSH button in the row of the instance to which you want to connect.
- Make a note of the IP address of the VM instance.
- You can see this address in the External IP column.
-
Install Apache 2’s PHP module:
- sudo apt-get update
- sudo apt-get install apache2 php libapache2-mod-php
-
Test Apache and PHP
- Copy the external IP address of the VM instance from the VM instances page in the Cloud Console.
- In a browser, enter your external IP address to verify that Apache is running:
-
Create a test file in the default web server root at /var/www/html/.
- In order to verify whether the PHP and Apache are working together, edit the phpinfo.php file and access it with the VM instance’s external IP address. We can write the code to the file from the command line by using following command:
- Test it using the following command:
-
Finally, in order to install MySql and it’s relevant components, execute the following command:
Commands to be executed:
Command: http://[YOUR_EXTERNAL_IP_ADDRESS]
We’ll see the Apache test page.
sudo sh -c ‘echo “[YOUR_PHP_CODE]” > /var/www/html/phpinfo.php’
Replace [YOUR_PHP_CODE] with the code that you want to write out.
For example:
sudo sh -c ‘echo “<?php phpinfo(); ?>” > /var/www/html/phpinfo.php’
http://[YOUR_EXTERNAL_IP_ADDRESS]/phpinfo.php
We’ll see the standard PHP page that provides information about our current Apache environment.
If the page failed to load (HTTP 404), verify the following:
In the Cloud Console, check whether HTTP traffic is allowed for the instance.
Sudo apt-get install mysql-server php5-mysql php-pear


