Mautic is an open marketing software platform. It provides a high level of marketing integration with audience intelligence that enables us to make personalized emails, create landing pages, create intuitive workflows for customer experiences and the capabilities to track our marketing activities. It automates the process of getting and nurturing leads generated from landing pages and forms, segments contacts, handles and sends workflow email, text messages, web notifications, social media monitoring, and integrating with your CRM and other technologies.
Mautic Installation steps
- Go to AWS marketplace https://aws.amazon.com/marketplace
- Search “Mautic” on the search bar. You will get the list of all available mautic AMIs
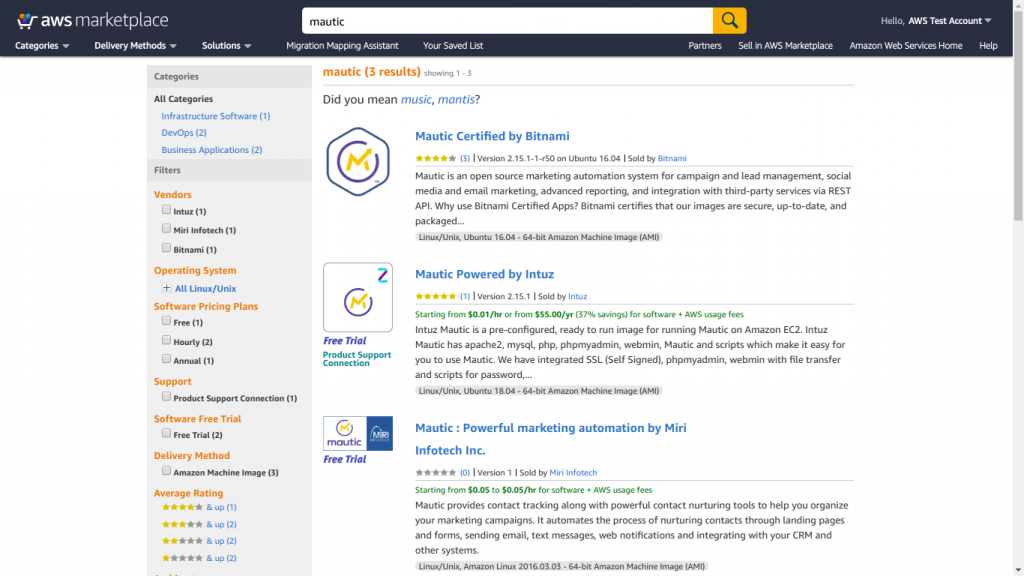
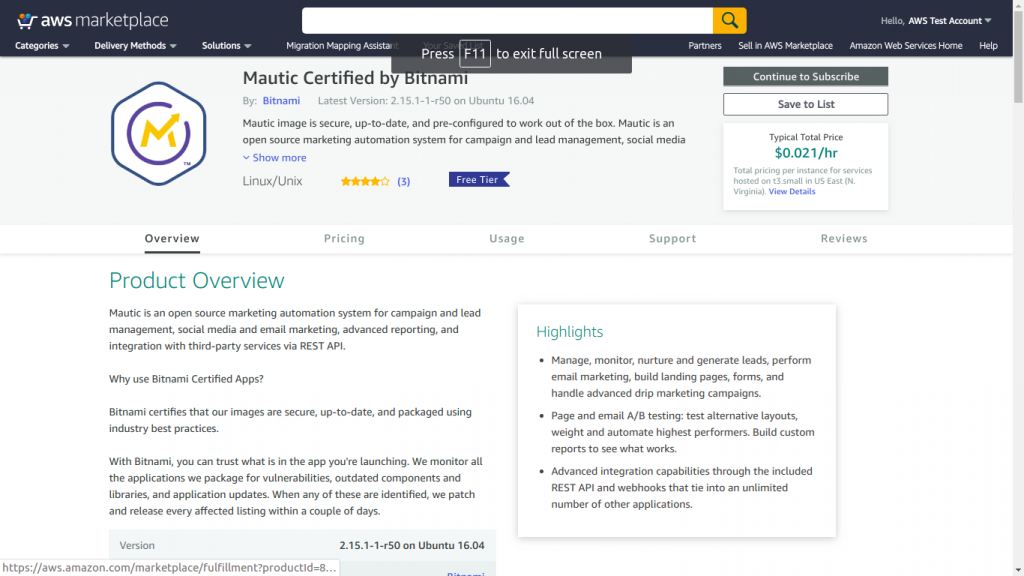
- Select “Mautic Certified by Bitnami” AMI and then click on the “Continue to subscribe” button.
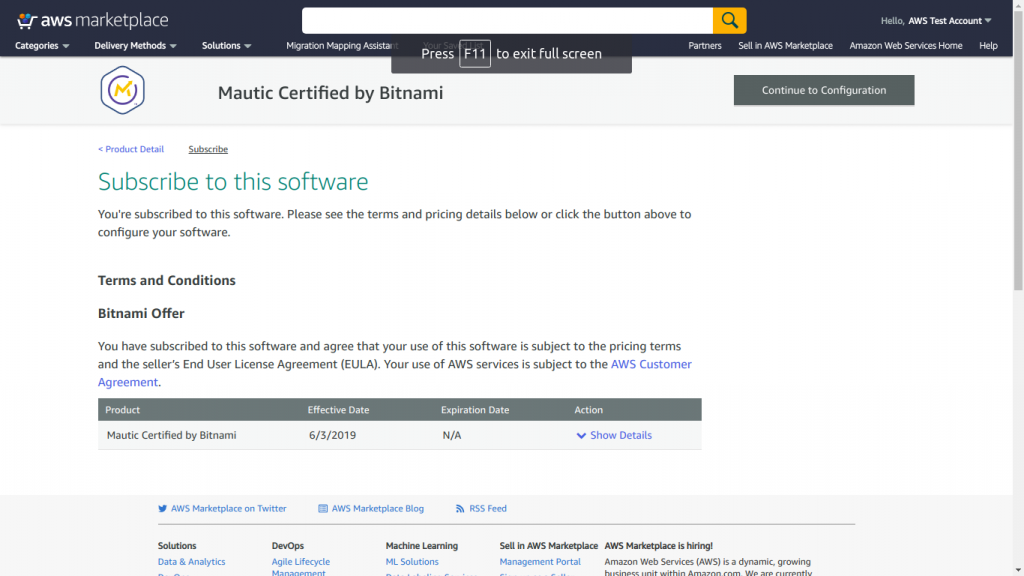
- After that click on “Continue to Configuration” button.
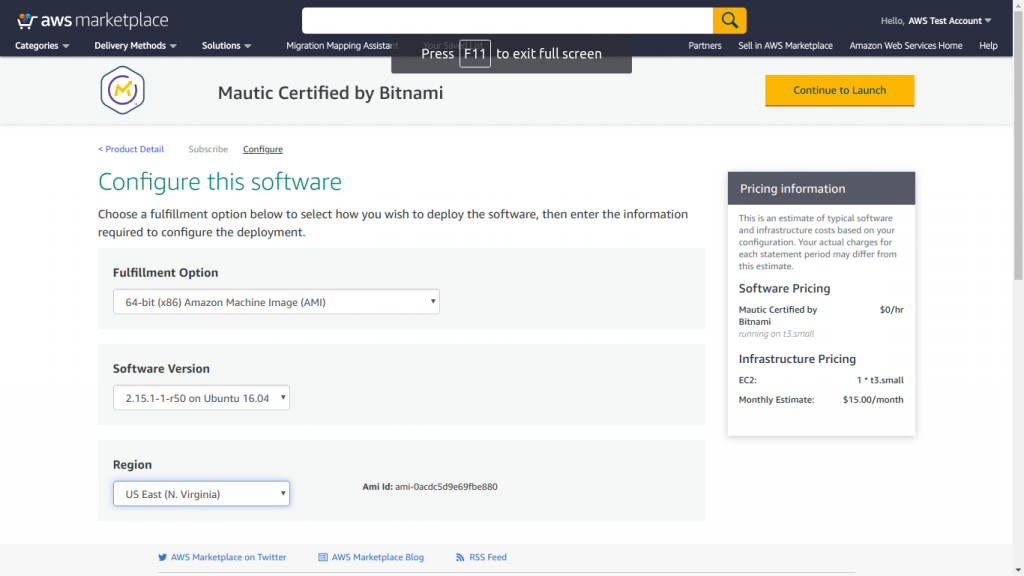
- Select the region in which you want to launch the instance and then click on “Continue to launch” button.
- Select the VPC, subnet and EC2 instance type as t2.micro for free tier and then click on the “launch” button
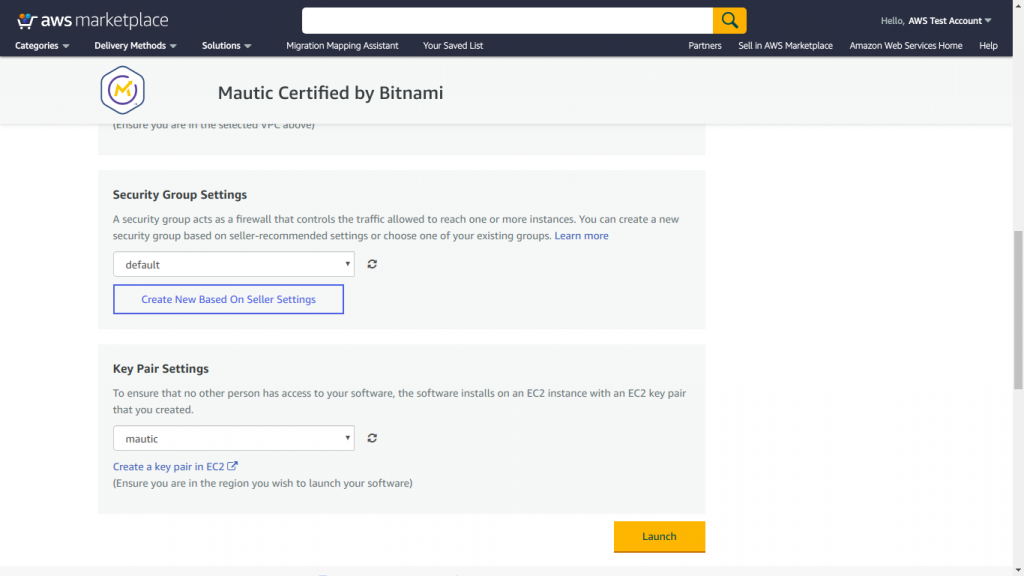
- Select EC2 instance configuration details as per your requirements and launch the EC2 instance.
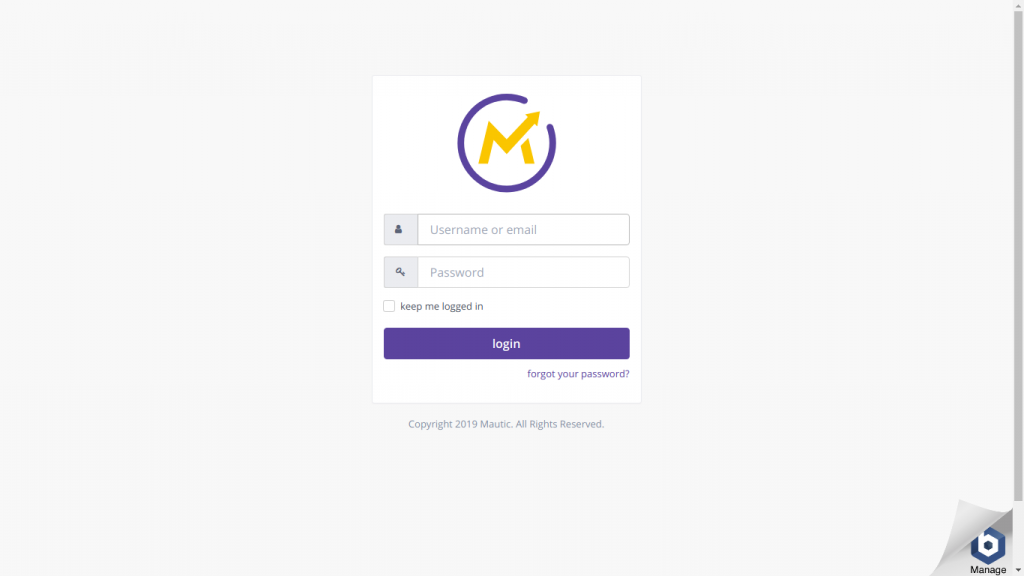
- You can directly access the mautic site by the public IP address of the instance. The login page will look like below image
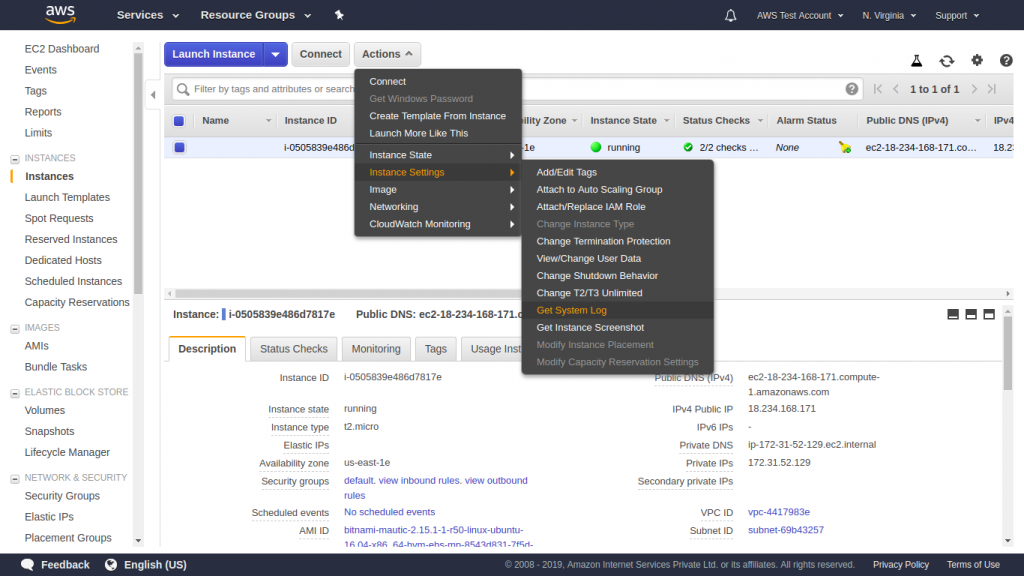
- To get a username and password, select the EC2 instance. Choose Instance Setting->get system log.
EMail Server Setup
- Login to mautic instance and select setting->configuration->Email Setting
- Provide following configuration details:
- Hostname
- Port
- SMTP authentication mode
- Username
- Password
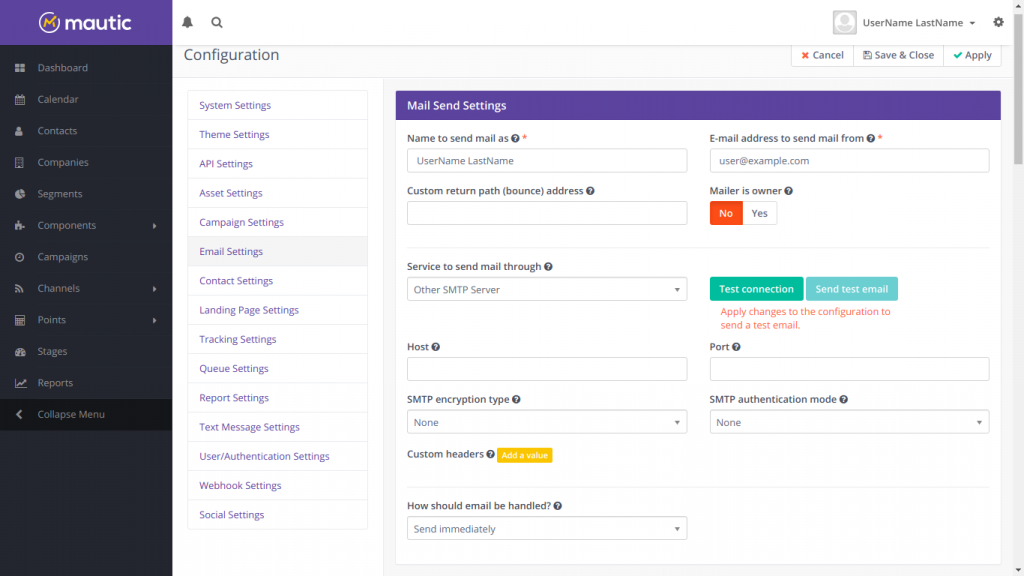
- Click on test connection to test configuration setup
- Click on “Save and Close” button.
Twilio Server Setup
- Login to mautic instance and select setting->plugins
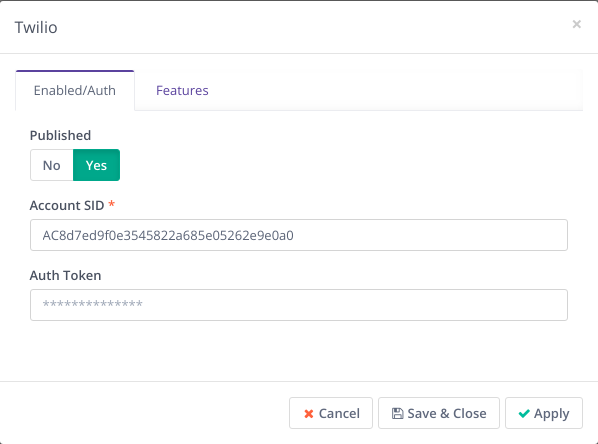
- Select the twilio plugin. Click on the Enabled/Auth tab. Provide following details
- Account SID
- Authentication token
- Click on the features tab. Provide the Sending Phone number
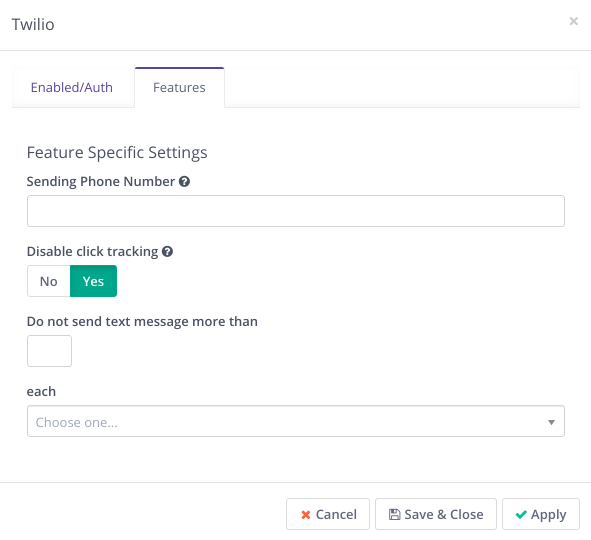
- Click on the Save & Close button.


