WordPress Tips and Tricks
WordPress Tips and Tricks
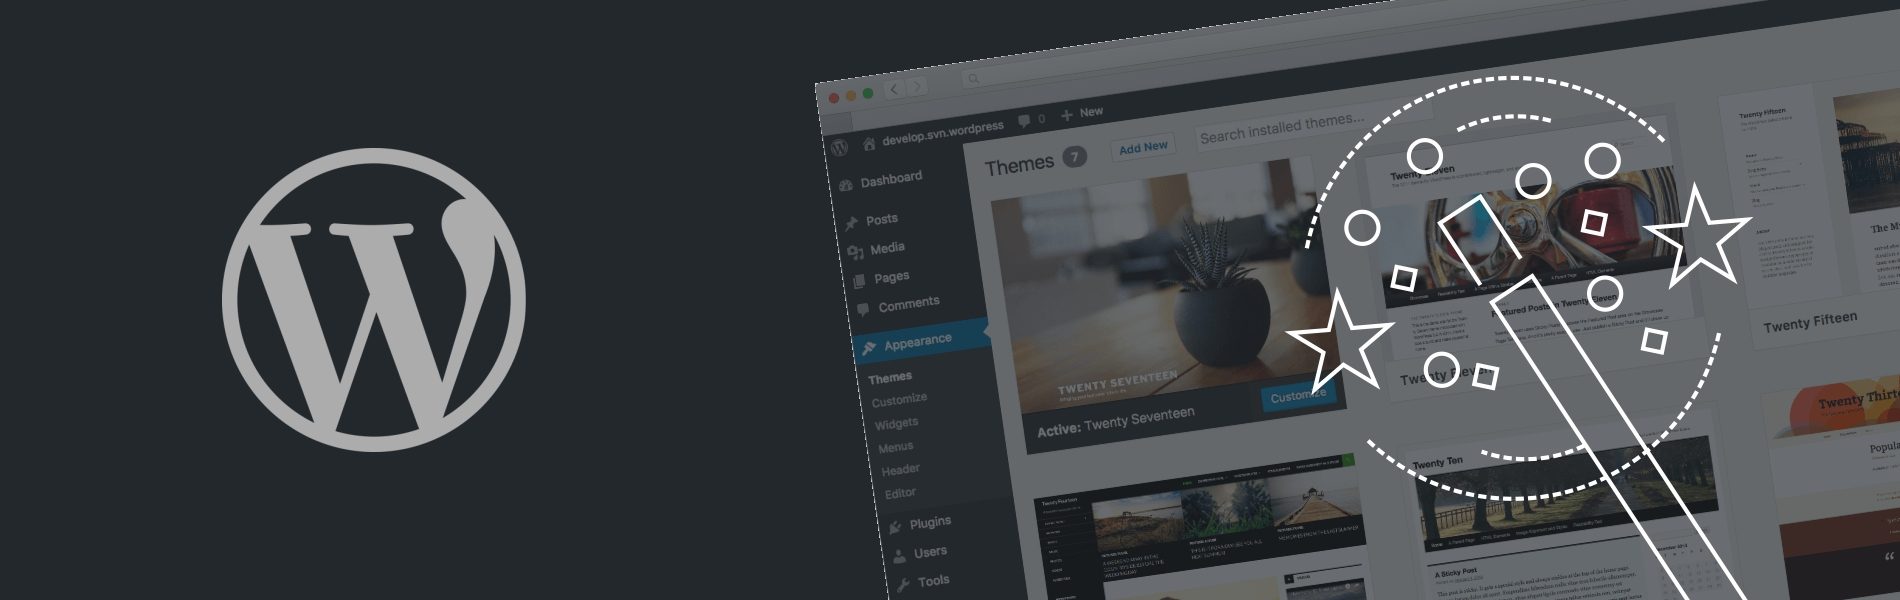
WordPress is one of the most prominent CMS platform being used by many professionals and agencies around the world today. It is easy, does not require hard-core coding knowledge and has got a great number of features which can be used for optimization or designing of any website. Here are some of the WordPress tips and tricks for you guys which you must know in order to get most out of it.
What is Homepage?
After installing a WordPress theme, we often get a sample page or homepage by default. And depending on the theme, it will decide what that page looks like. But what if you have decided you just want a simple homepage or something like one of your inside pages.
First, you will create your page. For example: Let’s say it as ‘Home’

You can add media files such as images or videos as well. Before saving the page you can preview it by clicking on Preview Changes button.
Here is the interesting part of your website. Choose Reading under Settings and you will get this page.
Now you are going to do the following things:
-
- Tick A static page.
- Choose Home or whatever you titled your homepage from the Front page drop-down menu.
- Save, and go check out your brand new homepage.

Underscores or Hyphens:
When you are naming the files, some people tend to use underscores instead of a hyphen. Something like this:
Wrong Way: http://localhost/MyWebsite/file_name.htm
Good Way: http://localhost/MyWebsite/file-name.htm
Your media files should also be an example of this. In any case, it’s best to keep it to a hyphen. The reason to name your file in this way is that Google looks at underscores as joiners. Which means it looks at it as one word.
Create your own custom page template:
You can also create a custom page template to use for your pages. Simply create a new file on your computer using a plain text editor and add this code at the top of it. You can save the file with any name, just make sure that it ends with a .php extension.
<?php /* Template Name: MyCustom Page */ ?>
<?php get_header(); ?>
<!--content-area -->
<?php get_footer(); ?>
Next, you need to connect to your website using FTP or another way and go to /wp-content/themes/your-current-theme/ folder. Now upload the file you created.
Go back to the WordPress admin area and edit your page. You will be able to select your custom page template under the page attributes meta box.

Versioning in WordPress:
Versioning in a website plays an important role. WordPress versioning can be a two-edged sword because:
-
- On one hand, it is very effective for cache-busting. The Cache busting allows the visitors to get the most recently updated files without having to perform a hard refresh or clear their browser cache.
- On the other, to increment the version number manually is a pain.
To overcome the above issue we can use a plugin ‘Dynamic Asset Versioning‘. When the plugin is activated, it will automatically determine the version number based on file modification time.
You can get the plugin from the below URL: https://wordpress.org/plugins/dynamic-asset-versioning/
Schedule a WordPress Post:
WordPress comes with a bunch of really cool features. One of them is to schedule your post. Every site has a certain time when it gets a peak of their users. There may be a situation that you live in a different timezone than your blog readers, then it can be a problem to publish a post according to their time. You can schedule your WordPress post by following these steps:
-
- Sign into your WordPress admin panel and open the post you want to schedule.
- Now, from the Publish Box, click on the Edit button in front of Publish option.
- Assign the date, day and time on which you want to publish your post and then click on OK button.

-
- Then click on Schedule button and it will schedule your post.
 Import a demo content in WordPress:
Nowadays several WordPress themes come with demo content in their package. This makes easier for the user to create his website from scratch. Usually, the demo content is an XML file. Before we start the import process, we’ll need to ensure that the importer for WordPress content has been installed.
To import the demo content you need to follow these steps:
-
- Log into the WordPress admin dashboard.
- Activate your theme before proceeding to import the demo content.
- Go to Tools → Import.
- Click on WordPress, as we are going to be importing posts and other content from the demo installation. This will open a pop-up that will allow you to install the WordPress Importer plugin. Activate the plugin.
- Choose ‘WordPress’ from the list.
- Upload the demo content .xml using the form provided on that page.
- You will be asked to map the authors in this export file. For every author, you can choose to map to an existing user on the blog or to create a new user.
- Then you will have the choice to import attachments, so click on the ‘Download and import file attachments’ box.
- Be patient while WordPress imports all the content.
- Enjoy creating your website using the demo content.
NOTE: The XML file will not configure Menus, Widgets, Theme Options, it will import only the content from the demo. You will have to manually configure the above settings yourself.
Increase the maximum file upload size in WordPress:
Many hosts keep the file upload limit low by default. For some, it is as low as 2MB which is clearly not enough for media files like (audio/video). We can increase the file upload size limit in following ways:
- htaccess method:
You can modify the .htaccess file to increase the upload file size.
php_value upload_max_filesize 64M
php_value post_max_size 64M
php_value max_execution_time 300
php_value max_input_time 300
- Editing the functions.php file:
You can also add the following code to your theme’s functions.php file to increase the file upload size:
@ini_set( 'upload_max_size' , '64M');
@ini_set( 'post_max_size', '64M');
@ini_set( 'max_execution_time', '300');
- Create or Edit an existing PHP.INI file:
You can create a new php.ini file and upload it to root folder or can edit the existing one. Add the following code to increase the upload file size:
 upload_max_filesize = 64M
 post_max_size = 64
 max_execution_time = 300
Database Search and Replace Script in PHP:
We all need to swap out one string for another in WordPress at some point or another. To search and replace a string manually from the database is a pain. The most common search and replace is performed while moving the database from local development environment to production website. The site’s domain name is scattered throughout posts, widgets, plugin settings, etc. It’s not as simple as just updating the Site URL in the WordPress settings screen.
To overcome this we can use the Interconnect IT’s Search & Replace Tool. All we need to do is to download the tool from their website. Place it in a new folder at the root of your website. You need to navigate to the folder, the tool will run, automatically and capture the database connection details from your wp-config.php file. Few of the feature of the tool are:
- It supports regex, with the help of which you can do some pretty powerful searching.
-
- You can do a ‘dry run’ – where you will get to see how many changes would be made in each table. It’s a great way of catching mistakes before doing serious damage.
- Perform the ‘live run’ to make the changes.

Conclusion:
These were some of the WordPress tips and tricks which are helpful while creating a website. If you have found this blog helpful and worthy then do share it with your other friends and circle too.