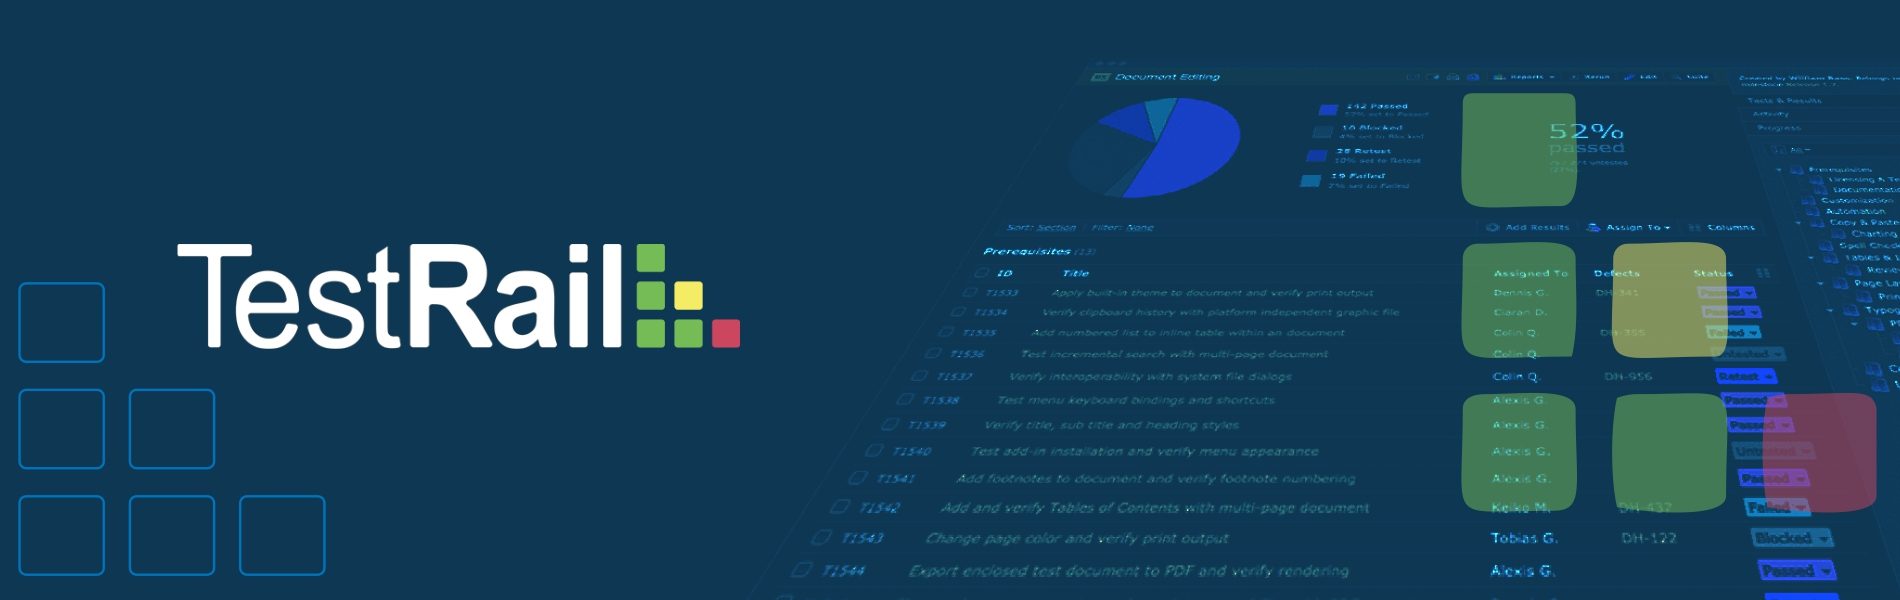
TestRail – Test Case management software
TestRail – Test Case management software
Key Features:
- Modern web-based Test Case management software for QA and Development teams.
- By test TestRail, you can efficiently manage, track and organize your application.
- Most important features are, in test cases you can add JIRA’s issue tracker and test automation.
1. Modern test management for your team:
- All in one place: manage, organize and track all your testing efforts in a central place.
- Web-based: easily access TestRail with your entire team – either hosted on your or our servers.
- Modern interface: testing with a beautiful and highly productive user interface.

2. Perfect for agile & traditional testing approaches:
- Any workflow: a great choice for any team, whether you use an agile or traditional approach.
- Any team size: teams of one to 1000s of testers love working with TestRail every day.
- Any method: manage your functional, exploratory and automated tests with ease.
3. Flexible project organization
4. Rich & powerful test case management
5. Easily organize test suites, sections & cases:
For more detail, you visit https://www.gurock.com/testrail/
Here we are explaining the tremendous way in brief to how you can create your Projects, Milestones, Test Plans, Test Runs and Test Cases on Test Rail. Before all these things you need to create your account on TestRail and Login into it. You will your Dashboard page then follow the following steps.
Steps:
1. After creating your account on TestRail you will get confirmation mail with a web link like as https://tudipdemo.testrail.net and just hit that link and then you will redirect to the Dashboard of your account.
2. On the Dashboard, click on “Add Project ” button from the left-Hand side panel to add a project. Also, you can add a project by clicking on the “Add Project” button from the bottom of the warning message.

3. Add project name as “Demo_Project” and then click on “Add Project” button at the bottom.

4. Then click on the “Add Milestone” button at the bottom to add milestones for the added project.

5. Then add a milestone name like “Sprint i12” and other details like the description and due date.

6. Then click on the “Test Cases” menu to add sections and test cases.

7. Then click on the “Add Section” button and then add a section name like “Login Page” and other details.

- You can also add a subsection under a section like as “Sign up page” can be a subsection under “Landing page”.

8. After adding a section, click on the Add Case button to add a test case.

9. Then add test case Title, Preconditions, Steps, and Expected Result.
10. You can also specify Type and Priority of the test cases.