Build Management Through App Center
Build Management Through App Center
What is the App Center?
App Center is a tool which is used to build, test and distribute applications. Developers monitor the standing and usage of the app using the Analytics and medical specialty services and interact with the users using the Push service once the app is deployed.
App Center’s costs
Free Tier:
- Build: 240 build minutes per month
- Test: Free thirty days trial
- Distribute: Unlimited distributions and users
- Analytics: All options enclosed
- Crash Reporting: All options enclosed
Paid plans:
- Build: $40/month per concurrency
- Test: $99/month per commonplace device concurrency
How to Set up an App Center account?
- Apps: You must add an app to your App Center account or receive an invitation to somebody else’s app before obtaining started with our services.
You can have totally different permission levels for every app: Developer, Viewer, or Manager. - Organizations: Create a corporation to ask Collaborators and directors to figure on your apps, and manage their permissions.
- Teams: Create groups at intervals for your organization to raise and manage massive organizations and permission settings.
The Flow of Product Release
Commit → Build → Test → Release
- Commit to a feature branch to create and take a look at
- Commit to a beta branch to distribute to testers
- Commit to master to meet up with the App Store
- Customize to fit your team’s workflow
Create a Project in App Center
URL: https://appcenter.ms/apps
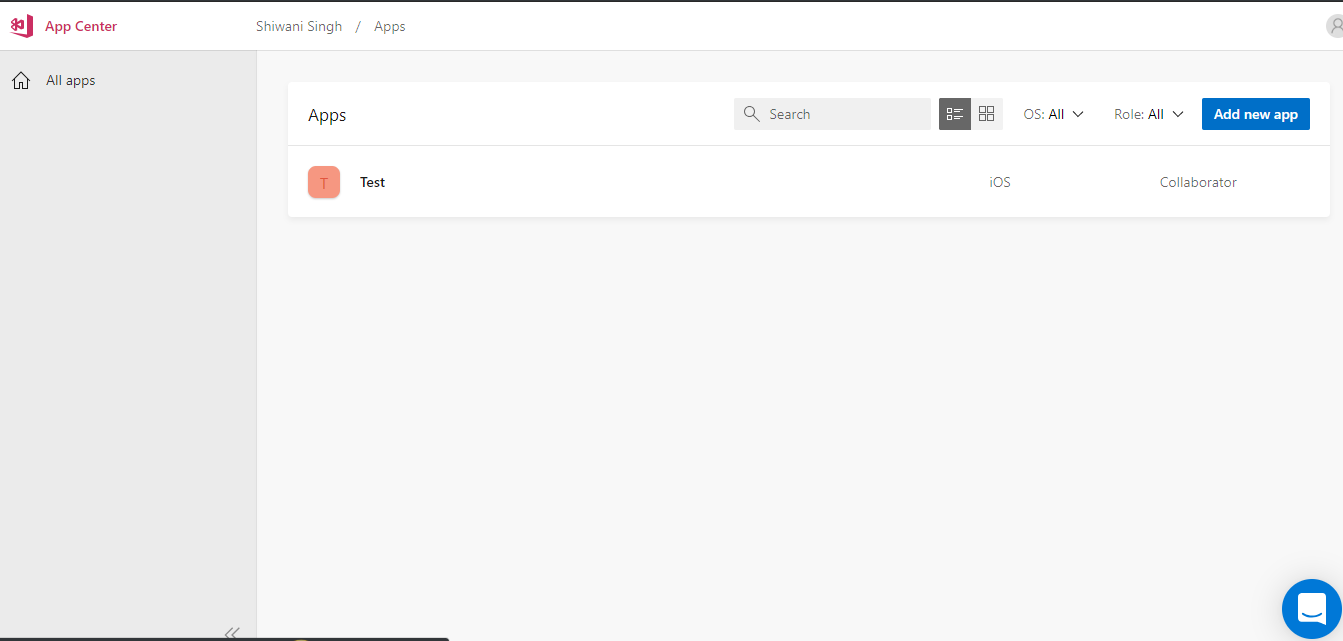
- Create a project by clicking on “Add new app” button at the top right corner of the page.

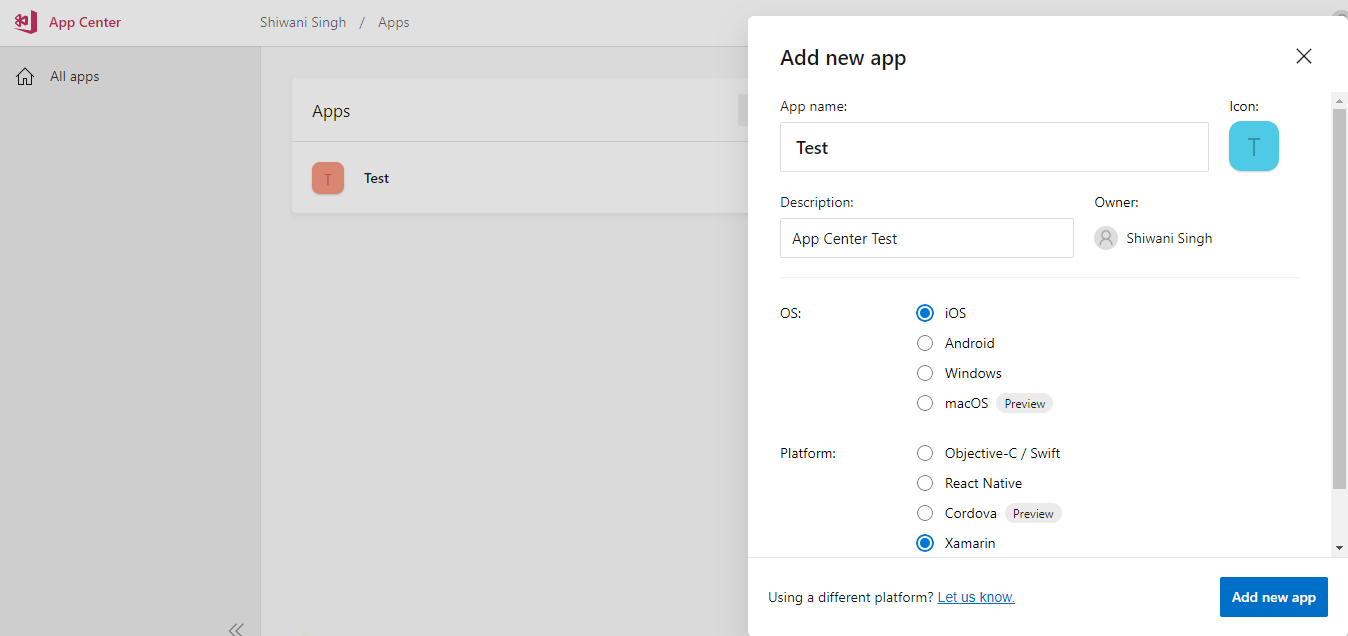
- Now enter the App name, description and select the OS and platform on which you want to create a new app and click on “Add new app” button.

Overview


Source Code Repository
One can connect to source code repository by selecting any one of the following services:
- Azure DevOps
- GitHub
- Bitbucket


Steps to create a build
- Go to Build option from the side menu and go to any branch and click on “Configure build”.

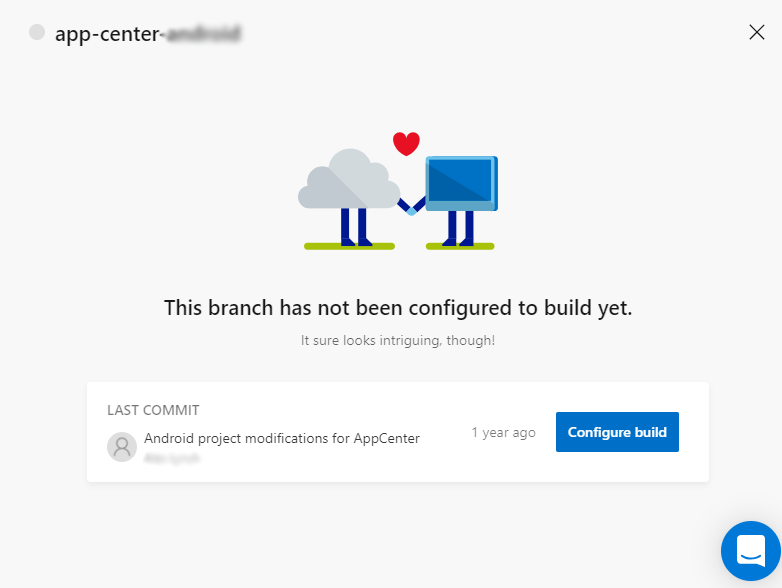
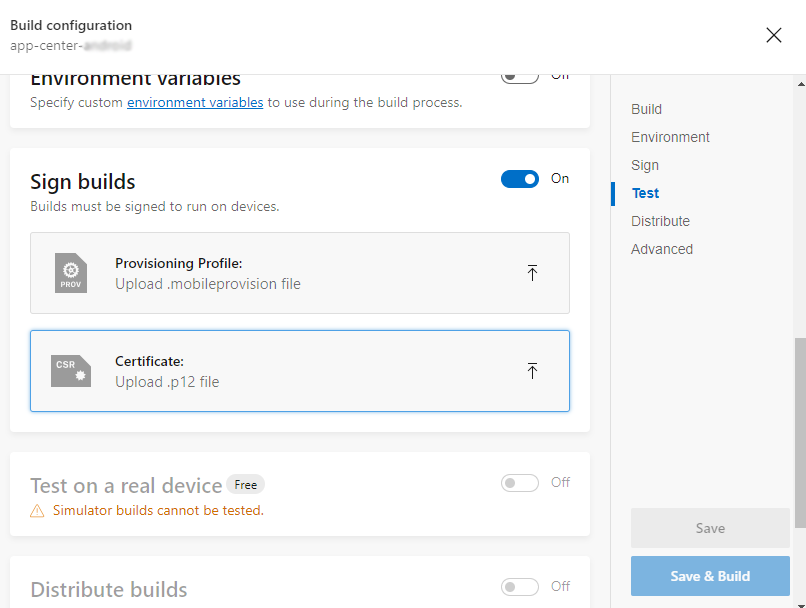
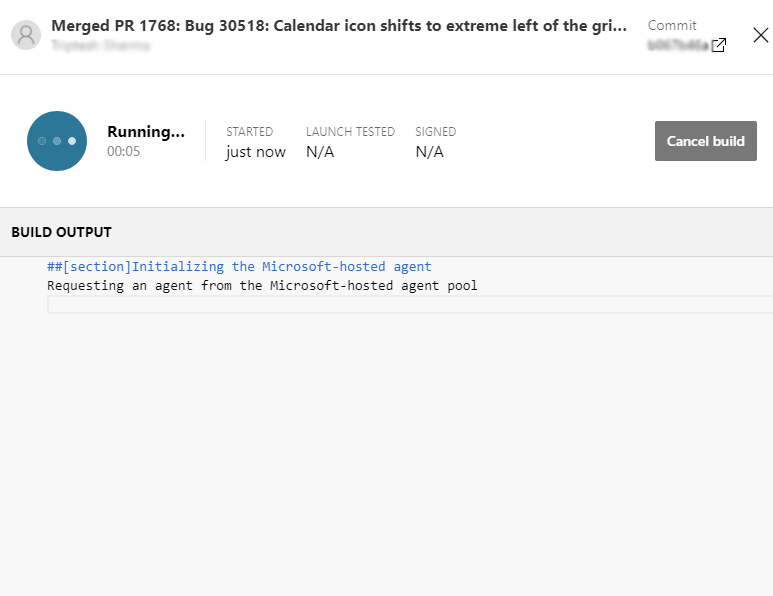
- Upload the Provisional profile and Certificate under the sign builds section and click on “Save & Build”. One can even cancel the build while running it by clicking on the “Cancel build” button.


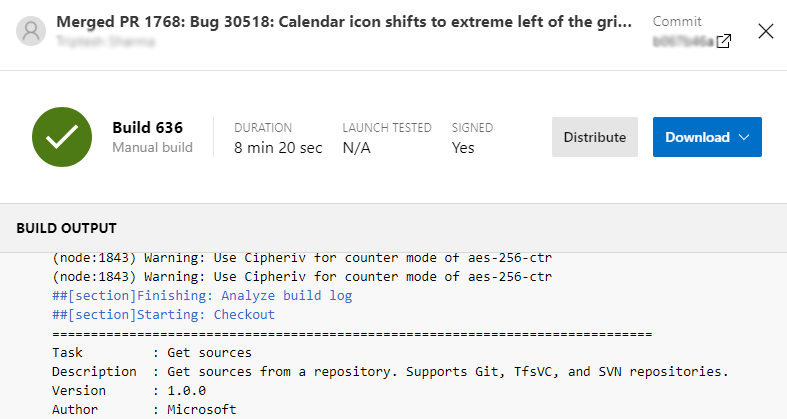
- Once the build is created then we can download the build (apk or ipa) by clicking on “Download->Download build” and install the build in the device.


Steps to create a Distribution Group
- Go to Distribute->Groups option from the side menu.

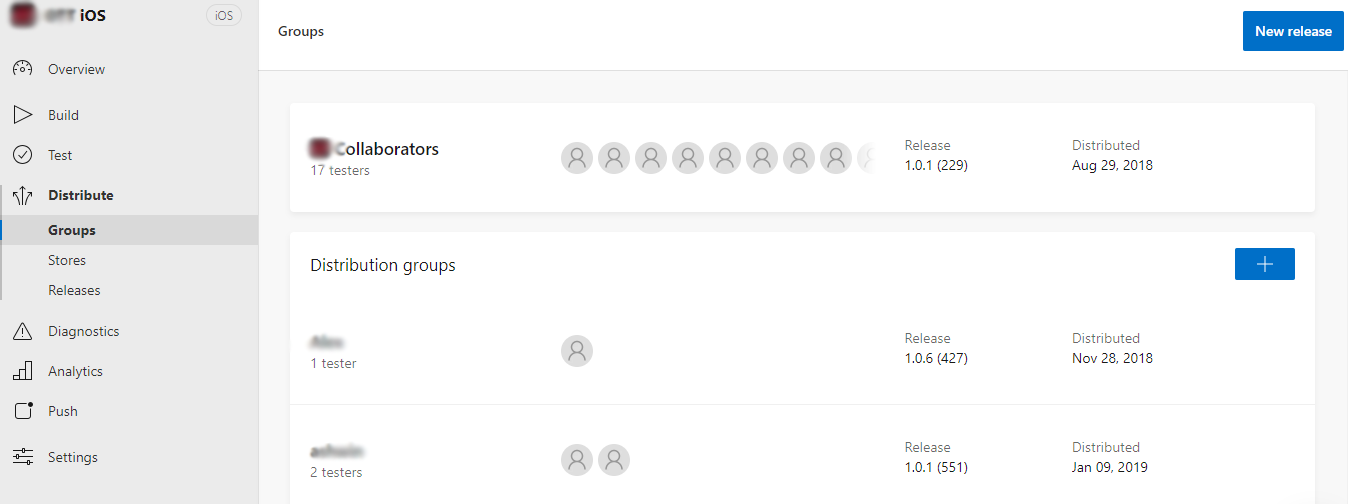
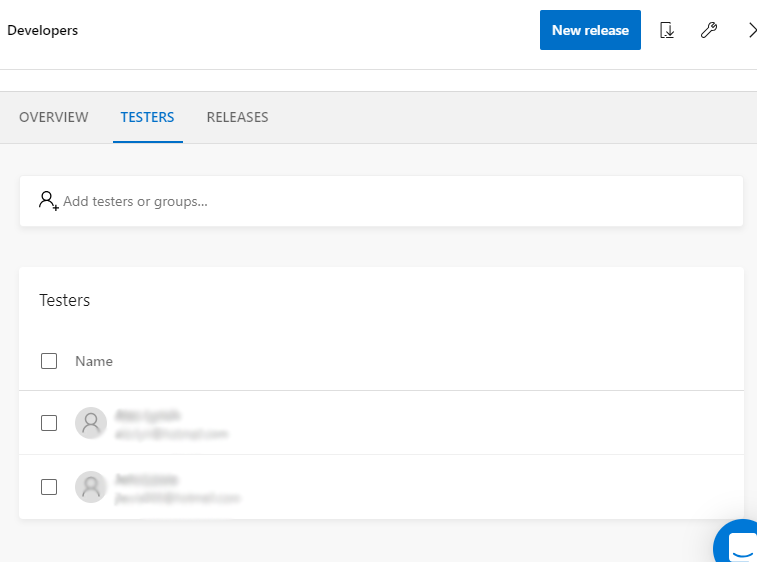
- Click on “+” button to add a new distribution group. A pop-up of New distribution group will appear. Enter the Group name and add testers to that group. Once done, click on “Create Group” button.


Once the group is created then you will notice that the added testers are displaying under “Testers” section.

Steps to distribute the build to the Distribution Group in App Center
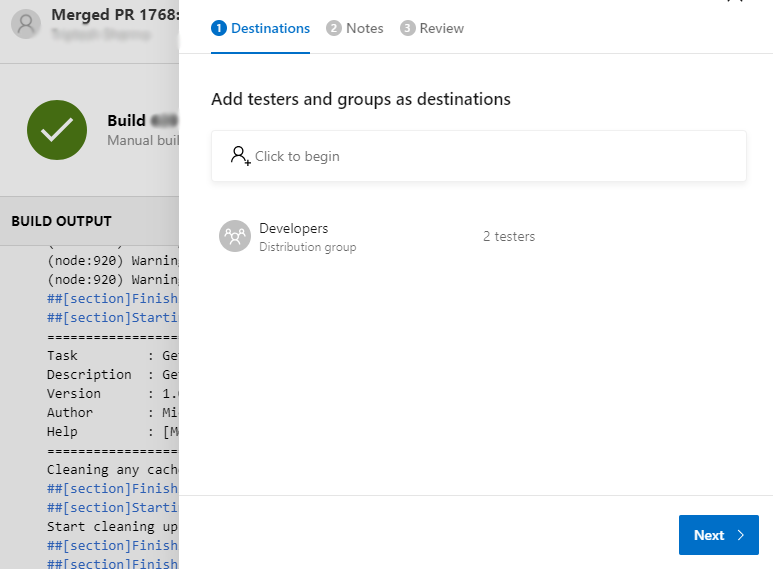
- Go to already created build from Build option (side menu) and click on “Distribute”.


- Add the already created Testers and Groups as destinations and click on the “Next” button.

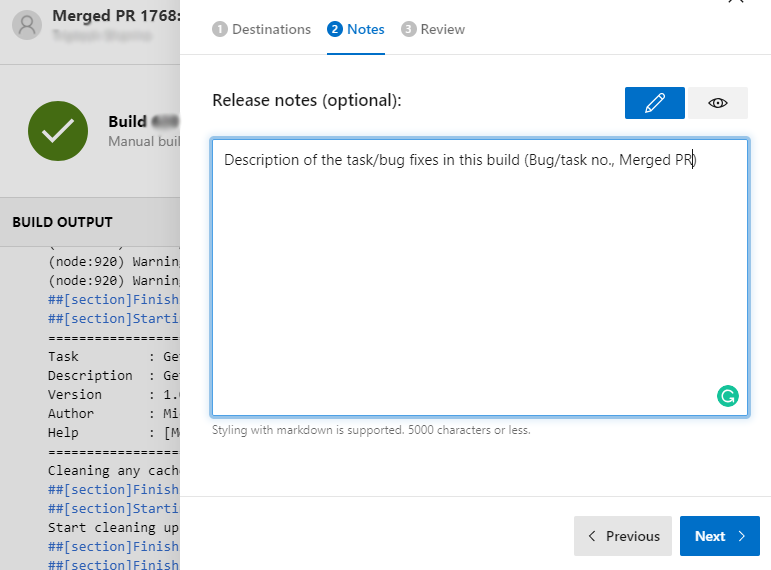
- Write the Release notes (optional) and click on the “Next” button.

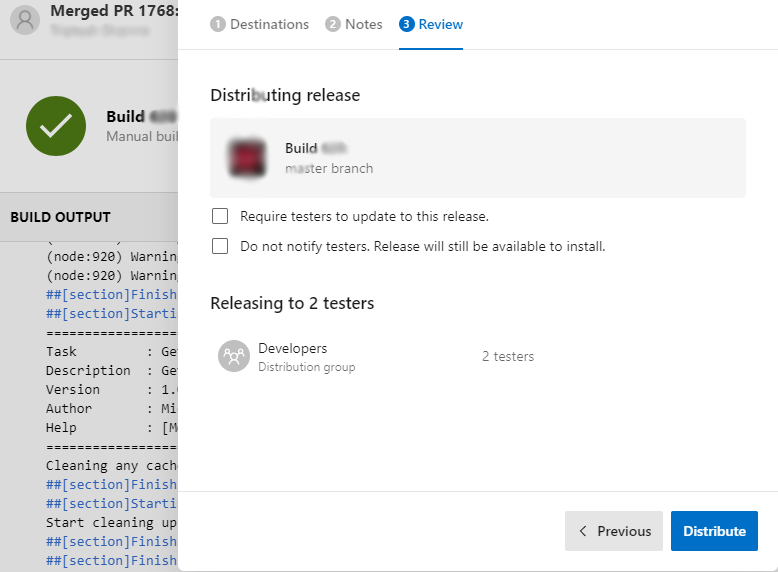
- Now finally review the Distributing Release and click on the “Distribute” button. The build will be distributed to all the testers added in the distribution group.

